Showing posts with label Amy Kolling. Show all posts

Thursday, December 13, 2012

Peace & Joy :: Amy Kolling


Hi everyone!  It's Amy here with a festive card using a fabulous set for paper piecing.........Ornaments by DoBea Alberts.  I love this set....it's HUGE and I like the size of the ornaments.  The hand-drawn look is just so fun.
 
Peace & Joy

 I didn't mention the sentiments in this set too.  Big that they can be the center of attention on your card or a beautiful compliment to your focal point.  Here I've used the sentiment, Peace & Joy, and heat embossed it in gold. 

Peace & Joy3

What do you think of the tiny twine bow?  This is some awesome twine!  It's from the Twinery and it's perfect for those holiday cards!  I made the gold strips the focus and added gold embossing and gold pearls.  LOVE!

 
Peace & Joy2

Well, I hope you all are enjoying this holiday season!  Have a wonderful day!


Friday, November 16, 2012

Bright Christmas:: Amy Kolling

 
Happy Friday!
 
We have a super FUN card to share with you today from
Check it out!
 
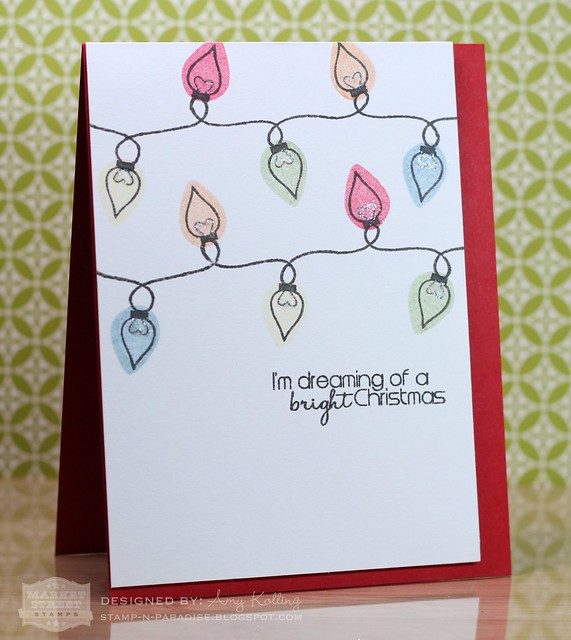
bright christmas
 
Amy used the new set SHINE ON to create this super cute Christmas card! LOVE how she stamped the colors behind the light bulbs- just perfect!


Run over and check out Amy's blog
for more information about how she created this card!
 
Have a great weekend! :)

Wednesday, October 24, 2012

Happy Halloween :: Amy Kolling

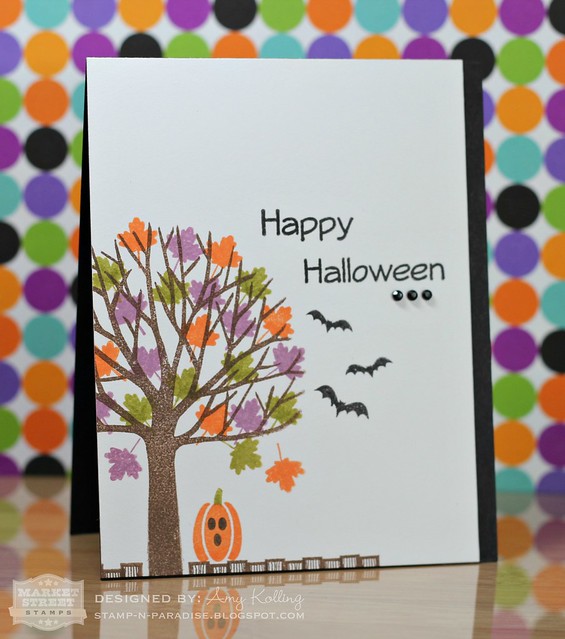
Hi everyone!  It's Amy here today with a Halloween one layer card.....using Fall-o-Ween by Julie Day.  I could not wait to get my hands on this set.  This set is jam packed with images for both Halloween and Thanksgiving! 
 
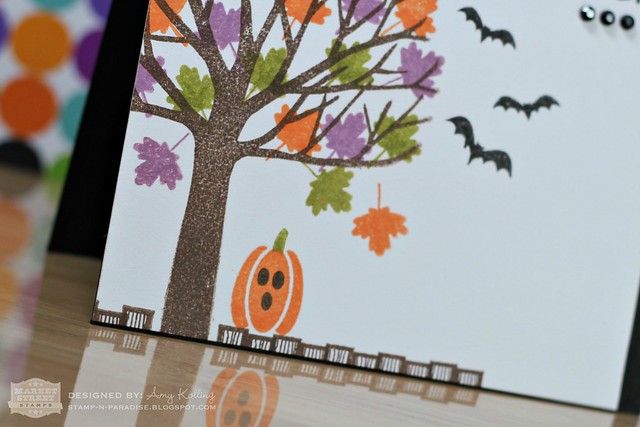
Creating this little scene was soo simple with these images.  I love how Julie even captured jack-o-lanterns with this set!  Look at that cute little face!  For my pumpkin, I did cut the stem off my stamp so it was more easy to ink up in green. *gasp*
 
Happy Halloween
 
I wanted to share the little wood fencing that is also included in this set.  Here I've used just the tips of the posts and stamped them once and then again in between the previous posts.  I love how it looks!

 
Happy Halloween


 Thanks so much for joining us here today at Market Street Stamps!


Monday, September 10, 2012

Nuts about you! :: Amy Kolling

Good morning!

I hope you all had a fabulous weekend! Do you feel fall in the air today? I do! And Amy Kolling has the PERFECT card to share that'll get you even MORE excited about fall!

Check it out!

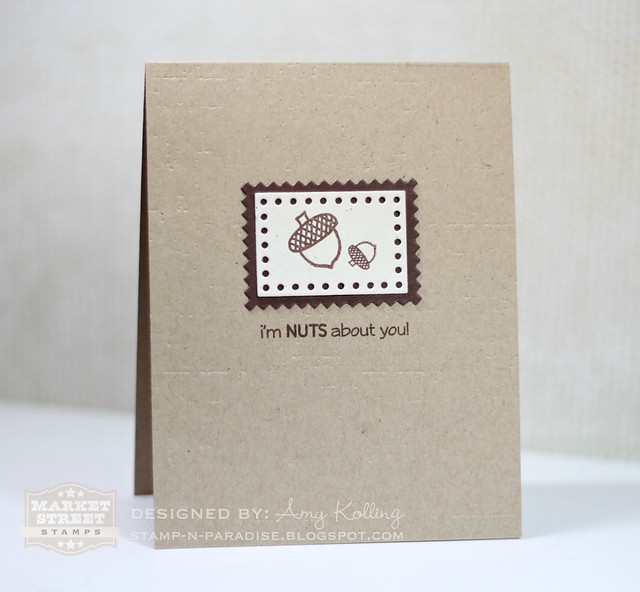
Nuts about you 

LOVE how Amy created this beautifully rustic clean and simple card with the new Nuts About Nature set! Just perfect!

 Image 1

Make sure you run over to Amy's blog
for more about this card!

See ya next time! :)

Tuesday, August 7, 2012

Tutorial- Two Step Stamping :: Amy Kolling

When you look at your clear stamps, do you really look at them?  What I mean is....do you think about turning them over and stamping with the "WRONG" side?  Well, I wanted to share just how you can do this!  I used this technique on THIS Market Street Stamps card that was chosen for the Top 20 of the Paper Crafts Gallery Idol contest this summer!


Firstly, you need to choose a clear stamp that has an outline that is the same as the image.  To clarify, look at the back of the stamp to see if it would make the perfect outline for the actual stamp itself.  I chose to work with the Two Step Butterfly stamp that is only $5 and available in the MSS store.  The butterfly I used is the SOLID image (top image in the photo).  Here are my supplies:


Let's see, I do believe some neon is in.....now I don't have neon inks but I think this represents neon in what I remember wearing back "when" those neon shoestrings and tops were "in"!  LOL
So here, I've chosen inks that have a lighter shade and a coordinating darker shade.

Your first step is to place a small piece of double sided tape on one side of your clear block and place your stamp on the block so the back side is out.  Yes go ahead.....do it.  Ink up your lighter shade of color and stamp your image.  Clean your stamp and remove to now place on the other side of your block.  Now place your stamp the "normal" way on the block and ink up with the darker coordinating shade of color.  Now, centering the actual stamp is soo easy because you have the outline there as a guide!  When done, it gives the most perfect outline to your image!


Here are all 3 butterflies stamped first with the back of the stamp and then again with the normal side of the stamp.


Now for the finished card.........I love the results and it makes for very mailable card since there is no layering!

Happy Birthday


  So I challenge you to go look through your stamps and see what stamp(s) you have that may work for this technique because it is FUN!


Wednesday, July 18, 2012

Cuppa Love :: Amy Kolling


GOOD MORNING! :)

Today we have a BEAUTIFUL, COOL, clean and simple card to share with you from AMY KOLLING!

Check it out!


Amy paired Daily Grind with a fabulous red, gray, and white color combination! LOVE the mix of patterns! 


Make sure you stop by Amy's blog
for even more inspiration! That girl's a rockstar!

Have a fabulous day! :)

Wednesday, June 20, 2012

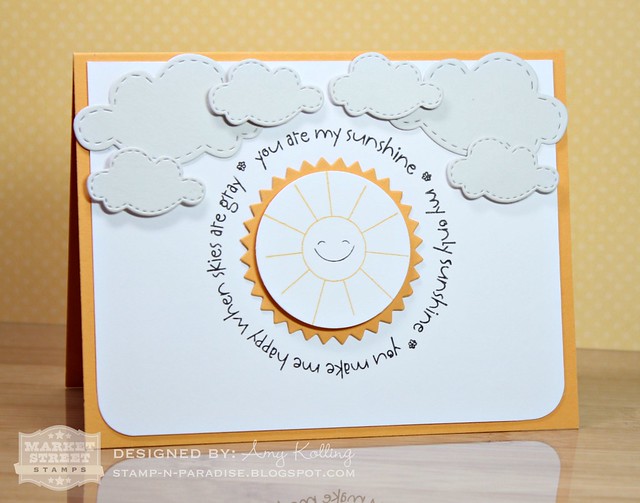
Sunshine :: Amy Kolling

Happy Wednesday! 
Half way through the work week- who's celebrating? HAHA! 

Well, we have something that will brighten your day this morning! Check out this super SUNNY card by our very own 

AmySunshine

She used Sure Miss You to create this card- PERFECT for summer, don't ya think? 


Make sure you run over to Amy's blog
for more info about this card!


ALSO....
we are SO SO proud of Amy's advancements in the Paper Crafts Gallery Idol Contest! She's in the TOP 10! If you have a moment, please go vote for our girl! We'd love to see her in the TOP 5!
Vote HERE!

See ya tomorrow!

Friday, May 18, 2012

Oh, Happy FRIDAY!

It's FINALLY Friday! 

Anyone else feel like that? Haha!

We've got something PRETTY to share with you today!
Check out what Amy made.....

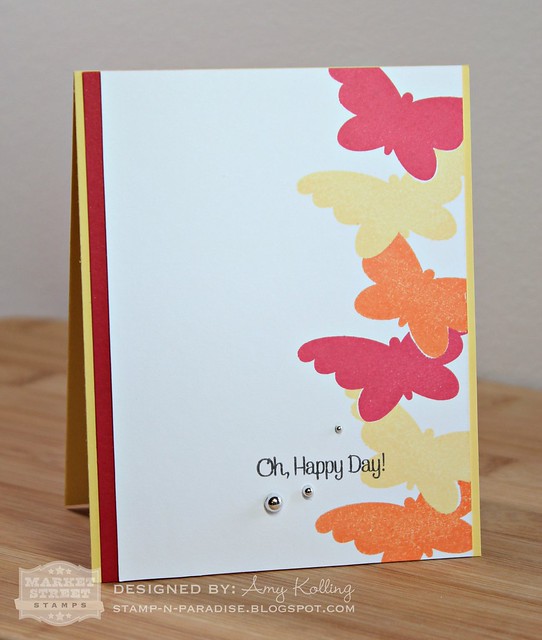
Oh Happy Day!

Told ya it was pretty! LOVE how Amy used the solid butterfly stamp from the Daydreaming kit to create this gorgeous accent on the side of her card! The butterflies and pearls perfectly accent the sentiment from Simple Salutations! 


Make sure you run over to Amy's blog
to see more about this beautiful card!

***********
If you come across some crafty time this weekend- make sure to check out our newest Paint the Town Color Challenge! The colors this month are GORGEOUS!


Have a GREAT weekend!

Thursday, April 19, 2012

Inspiration Week :: Scor-Pal & Market Street Stamps :: Day 4

Hello There!
I'm so glad to see how much you're enjoying our inspiration week with Scor-Pal! We've had a blast creating for this week, and today's projects show no exception.

Today, we'll be taking a look at the lovely work of

&

Don't forget to pop by the Scor-Pal blog after you're finished here!
Both teams have done a phenomenal job!

Stephanie created an awesome card that could be used for a female friend or it could be masculine, too! I just LOVE the pattern she created with her Scor-Buddy and all the fun inking she did to make the creases POP! Stephanie used Daily Grind for her coffee cup and sentiment, and the tag is from Make a Memory.

(*Tifany's project will be up tomorrow, oops, my fault!)

Amy's note card set is absolutely stunning! The red and kraft combo is classic, and who wouldn't love a gift like this? Amy used both Neighborhood and Home Sweet Home. Don't miss her blog - she has a wonderful photo tutorial for you today so you can create this same project!

Thank you so much for visiting today, don't forget to visit both our designer's blogs as well as the Scor-Pal Blog for more photos, additional projects and more!

See you back here tomorrow!
xo Angelica

Thursday, April 12, 2012

Sweet and Simple :: Michele and Amy

Good Morning Everyone!!
Today we have not one, but TWO gorgeous cards to share with you.

First up, Michele's beautiful blue and kraft combination is stamped with our Woodgrain background and accented by a stamped tag with a flourish and sentiment from "Faith in You".
I love that ribbon, too!

Next up, Amy's pretty-in-pink card is monochromatic style!
I love the way she took the same color and stamped two different patterns (Mesh and Grace) to create her lovely greeting! She also used Simple Salutations for her sentiment.


Be sure to visit Amy and Michele's blog for MSS-inspired projects and more!
We're back on the blog tomorrow with a HOP for Operation Write Home.
You don't want to miss it - we'll have a link up, a coupon, and a prize, too!!!

Have a wonderful Thursday!
xo Angelica


Tuesday, March 6, 2012

You brighten my day!

Hi everyone!  It's Amy from Stamp-n-Paradise here and I have a fun, bright card for you using one of my favorite techniques:  Emboss Resist.  I absolutely love this technique!!  I'll take you through my steps at achieving this look.


Here is a photo of supplies you will need along with your heat tool.


You can start by using an embossing buddy to help remove any static from your cardstock but I did not use mine here.  Ink up your image of choice with Versamark and begin stamping your pattern.  It will be a bit hard to see.  Once you are finished stamping, sprinkle on white embossing powder over entire image and tape off the excess.  Heat image.  Here is what mine looks like just before embossing:


Now comes the fun part!  You get to be an artist!  I've used Mustard Seed, Spiced Marmalade, and Barn Door Distress Inks to sponge on the ink working in a circular motion starting OFF your paper and working ONTO your paper.  This is important and will give you better blending results.  Here is Mustard Seed first.


Then Spiced Marmalade.


And finally Barn Door.


You just keep adding ink until you like the color.  You can make it darker or lighter just depends on what you like.  The final step is to use a paper towel to buff over the embossed images.  The embossed images will "resist" the sponged ink you've applied and really pop off the paper!!!

I also wanted to mention that I did use the "rock 'n roll" technique for stamping my sun.  I simply started by inking up with Mustard Seed first and then rolling the stamp in the Orange Marmalade. 

Well, that's it for me today.  I hope you give this a try if you have any Distress Inks in your stash.  They are so much fun to work with!

Monday, February 13, 2012

All You Need is Love.....

Good morning!

I'm here today to share this super CUTE card 
created by Amy Kolling! 

Valentine's Day is just around the corner and this is a card that anyone would be happy to receive! 

Ocean Fun

Amy paired a sentiment from the new Birds of a Feather set with an oldie, but a goodie- the Ocean Fun set!


Stop by Amy's blog
for more information about her card!

*************

Did you see the newest 


It's available NOW in the Marketplace  for single purchase OR sign up for subscription to receive a kit on your doorstep automatically each month! 
Check it out!

Have a great Monday! ;)


Friday, January 20, 2012

Hearts a Plenty LOVE!

Hi! 
It's FRRRRIIIDDDDAAAYYYY!
Haha!

Want to start your weekend off right? Check out this card by the super talented Amy Kolling!!


SO pretty and FUN! I love how Amy pieced those different cardstock pieces together to create this cute rainbow effect! 

She used the Hearts a Plenty background stamp! LOVE this background- perfect for Valentine's Day!

Image 1

Make sure you stop by Amy's blog:
to see more details on this project!!


Guess what.......
We'll be back on Monday with some SNEAK PEEKS of the brand new stamp sets being released this month! YAY! Can't wait to show you what we've been working on! 

Have a great weekend!
-Steph